No products in the cart.
Uncategorized
3 Ways To Install an eSIM on iPhone
Ready to install an eSIM on your iPhone before you travel? You’ve come to the right place. eSIMs are quickly becoming the global connectivity standard for travelers worldwide. And Airalo is the first and largest eSIM marketplace, giving you access to eSIMs for 200+ countries and regions worldwide!
We know the ins and outs of eSIMs, including how to install and activate an eSIM before you travel. Keep reading for step-by-step instructions to install an eSIM on your iPhone and stay connected during your trip.
What Is an eSIM?
First, let’s review what an eSIM is and how it works. An eSIM is an embedded SIM (that’s what the “e” stands for) — a tiny chip built into your device during manufacturing. Like a physical SIM card, it identifies you as a mobile subscriber and connects you to a carrier’s network.
The difference is that an eSIM works 100% digitally. You don’t need to insert a physical SIM to change mobile providers or stay connected when you travel. Instead, you can purchase an eSIM plan from a provider like Airalo, install an eSIM profile on your device, and instantly connect to a mobile network.
Does My iPhone Support eSIM?
The first Apple phones to support eSIM technology were the iPhone XS, iPhone XS Max, and iPhone XR, released in 2018. If you have a later iPhone model, it’s likely to be eSIM-compatible. However, this may vary depending on your mobile carrier and the country or region where you purchased your iPhone (e.g., iPhones in China don’t have eSIM capabilities).
Your iPhone must be carrier-unlocked and eSIM-compatible to use an eSIM. Follow these steps to see if your device meets these requirements:
- Go to Settings > General > About.
- Scroll down to the Carrier Lock section.
- If your device is unlocked, it will show “No SIM restrictions.”
- Scroll down to Available SIM (iOS 15 or later) or Digital SIM (earlier iOS versions).
- If your phone supports eSIMs, it will show a 15-digit IMEI number.

3 Ways To Install an eSIM on an iPhone
If your iPhone is eSIM-compatible, you’re set to purchase an eSIM and stay connected during your next trip. Here are three ways to install an eSIM from Airalo on your iPhone.
Option 1: Direct Installation
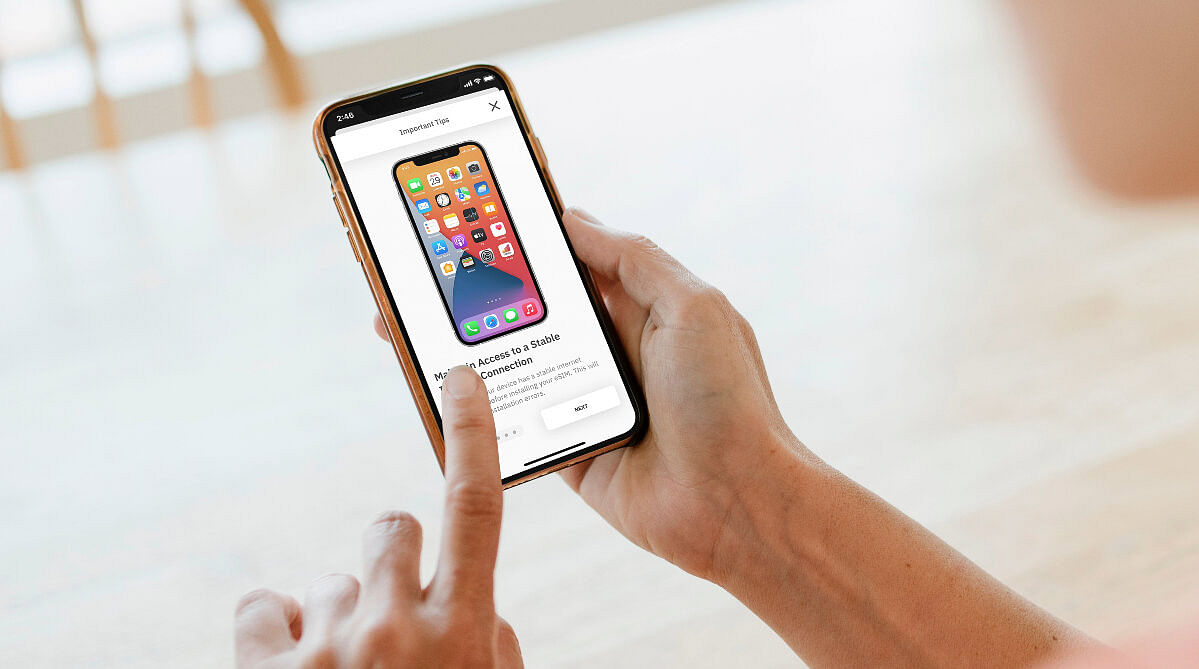
This is the quickest and easiest way to install an eSIM on your iPhone. Follow these step-by-step instructions to use the direct installation method.
- Open the Airalo app on your phone.
- Go to My eSIMs.
- Navigate to the eSIM you want to install and tap Details.
- Tap View Instructions.
- Tap Direct.
- Tap Install eSIM.
- Tap Next to move through the step-by-step guide.
- Tap Continue twice and wait a few minutes for your eSIM to activate.
- Tap Done.
- Add a Cellular/Mobile Plan Label to the newly installed eSIM.
- Tap Secondary.
- Enter Airalo or your preferred label.
- Tap Done.
- Tap Continue.
- Select your Primary line for calls and text messages.
- Tap Continue.
- Select your Primary line for iMessage & FaceTime.
- Tap Continue.
- Select your Airalo eSIM for Cellular/Mobile Data.
- Ensure that Allow Cellular Data Switching is turned off.
- Tap Continue.
- After completing these steps, the installation page will close.
*If you’ve purchased a data-only eSIM, select your primary (home) line for calls, texts, iMessage, and FaceTime. If you’ve purchased an eSIM with call and text capabilities, select the eSIM as your preferred line to access those features.
Option 2: Use a QR Code
You can also install an eSIM on your iPhone with a QR code.
Option 3: Manual Installation
Another way to install an eSIM on your iPhone is by manually entering an activation code. Here’s how to do it.
First, access your SM-DP+ address and activation code:
- Open the Airalo app.
- Tap My eSIMs and select the eSIM you want to install.
- Tap the Details button.
- Tap View Instructions.
- Select Manual as your installation method.
- You’ll see your SM-DP+ address and an activation code.
Then, install the eSIM:
- Go to your mobile device’s Settings.
- Tap Cellular or Mobile.
- Tap Add eSIM.
- Tap Use QR Code.
- Tap Enter Details Manually.
- From the Airalo app, copy the SM-DP+ Address and paste it into the SM-DP+ Address field.
- Then, copy and paste the Activation Code and Confirmation Code (if prompted).
- Tap Next.
- Tap Continue twice and wait a few minutes for your eSIM to activate.
- Tap Done.
- Add a Cellular/Mobile Plan Label to the newly installed eSIM.
- Tap Secondary.
- Enter Airalo or your preferred label.
- Tap Done.
- Tap Continue.
- Select your Primary line for calls and text messages.
- Tap Continue.
- Select your Primary line for iMessage & FaceTime.
- Tap Continue.
- Select your Airalo eSIM for Cellular/Mobile Data.
- Ensure that Allow Cellular Data Switching is turned off.
- Tap Continue.
- After completing these steps, the installation page will close.
How To Turn on Your eSIM Line
Now that you’ve installed your eSIM, you can connect to a mobile network when you arrive at your destination. Here’s how to turn on your eSIM line upon arrival.
- Go to Settings.
- Tap Cellular or Mobile.
- Tap your eSIM.
- Ensure that the eSIM is enabled. If not, toggle Turn On This Line.
- Check if you need to enable Data Roaming on your device by opening the Airalo app and viewing your eSIM instructions.
- Toggle Data Roaming ON or OFF.
- Go to Cellular or Mobile Settings.
- Tap Cellular or Mobile Data and select your eSIM.
- Your eSIM should automatically connect to a supported mobile network.
You’re all set to stay connected during your travels! Visit the Airalo store to find an eSIM for your trip.

