No products in the cart.
Uncategorized
How To Remove a SIM Card From Your iPhone & Why You Should Switch to eSIM
Let’s face it, removing a SIM card from your iPhone can be tricky. It can be especially finicky if you’ve lost your SIM eject tool.
But not to worry, we’ve got you covered!
In this article, we’ll discuss:
- Placing and replacing an iPhone SIM card
- Handling a SIM tray
- Highlighting the difference between a SIM and an eSIM (Why your new SIM card should be an eSIM)
- Which Apple smartphones and devices support eSIM
- How phone ports and technology are evolving

Removing a SIM Card
Let’s go over why you’re here: learning to remove a SIM card from your SIM tray on your iPhone.
How it Works
Every iPhone has an ICCID number (integrated circuit card identifier) built into the device. Think of your ICCID as a unique serial number that can locate the SIM by reading the unique SIM card number on each chip.
While it’s technically called an ICCID – it’s effectively, first, a unique number to your iPhone. Second, it activates a SIM card number unique to the chip. And third, that unique SIM card number informs the network provider of your identity and what networks your iPhone is able to access.
That network connectivity will depend on if your phone is locked or unlocked.
What Tools You’ll Need
Before you insert a new SIM card into the iPhone SIM tray, make sure 1) the device is completely powered off and 2) you’re using the proper tools.
Avoid using any sharp or jagged tools when attempting to open the tray. You could risk scratching or damaging the interior, exterior, or functionality of the device. (It’s really not worth it).
Ideally, use the SIM eject tool that was provided with your iPhone. If you don’t happen to have the tool anymore, a paper clip, a dull toothpick, or even an earring will work in its place.
Step-by-Step
- Power off your phone by holding the power button on the right side and the lower volume rocker on the left until prompted with a screen that says “slide to power off.”
- Locate the SIM tray under either the power button or the volume rocker (this step will depend on which iPhone model you’re using).
- Use your SIM ejection tool to press into the small grove on the SIM tray until the tray pops open (do keep in mind you’ll want to press until it pops out of the device completely)
- Take your SIM (Nano-SIM) card, remove any plastic casing, and insert the card into the tray.
- Make sure the chip side of the SIM card is facing the back of your phone. With the same orientation, align the card with one corner of the tray, and pop the tray back into your iPhone until the tray is snug with the SIM firmly stored inside.
- Power on your iPhone by pressing the power button and wait to be greeted by the home screen
- Tap your iPhone’s Settings > tap General > and tap About to see your SIM settings. Make sure your SIM is reading properly. Wait a moment, as it may take some time for the iPhone’s SIM number to register with the network.
And that’s how you install a SIM card on an Apple iPhone!

SIM vs. eSIM
Now, you might be thinking, there has to be an easier way than that.
We don’t know about you, but we immediately noticed a few major pain points from that installation process.
Notably, it takes time to get a new SIM card, locate an ejection tool (if you even still have it), risk damaging the card, and even risk damaging your phone.
What if your iPhone’s SIM number was completely digital? What if you could download data plans instead of swapping cards?
You Can, Welcome to eSIM!
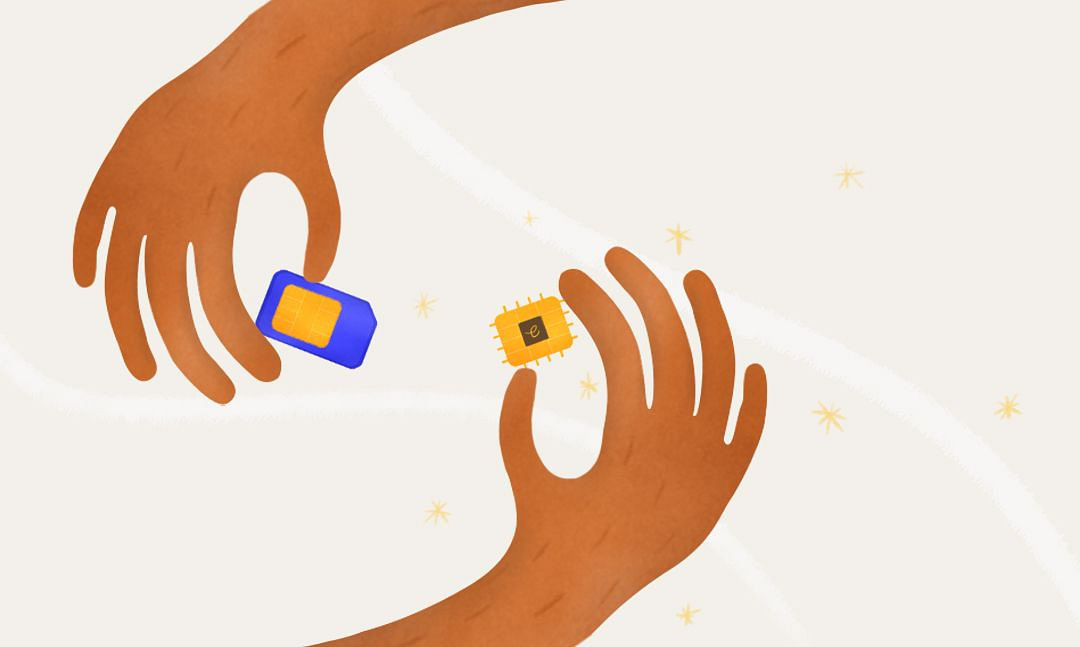
eSIM stands for an “embedded” SIM card. On iPhone, your eSIM is built into your device. Instead of swapping cards for data functionality, your phone has that power embedded into it.
If your iPhone is also network unlocked, you’re free to visit the Airalo app store and download any data pack you want! No more finding SIM vendors in new counties and managing multiple cards.

Removing an eSIM
(You can check out our full guide here on installing an eSIM on iOS and removing an eSIM on iOS).
Simply put, instead of the seven steps I mentioned for a traditional SIM, removing an eSIM is way simpler:
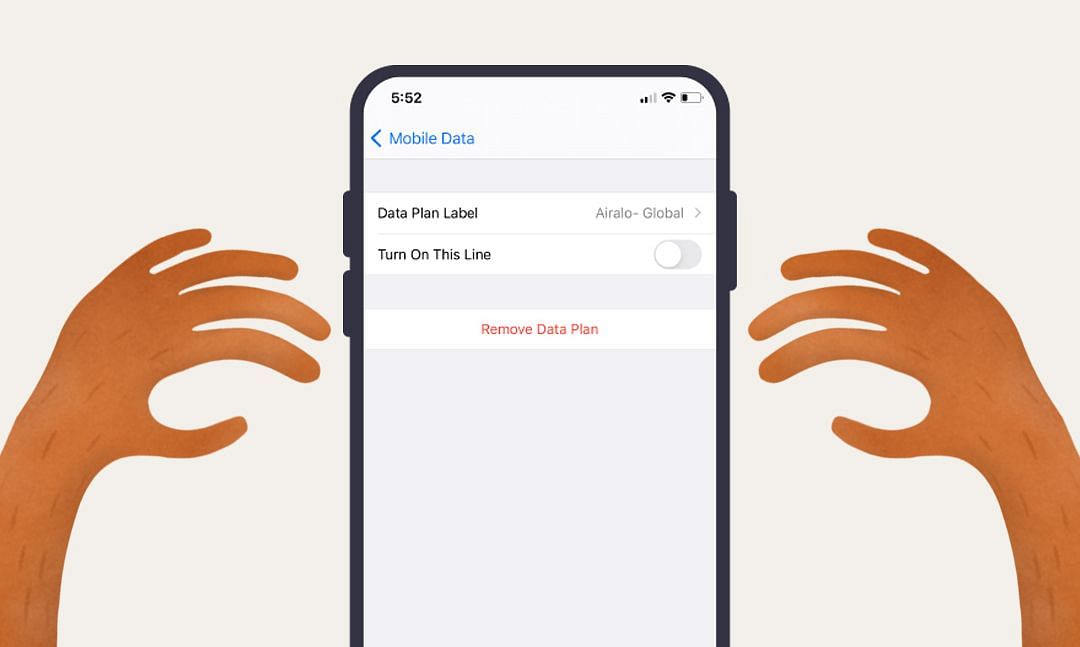
- Go to Settings on your iPhone.
- Go to Cellular within Settings.
- Tap on your Airalo plan and select “Remove Cellular Plan.”
That’s it.

Apple Devices That Support eSIM
We’re constantly expanding our list of compatible devices. This list includes Apple, Android, and other third-party devices. As of writing this in November 2021, the following Apple devices are eSIM compatible for most regions:
- iPhone 13
- iPhone 13 Pro
- iPhone 13 Pro Max
- iPhone 13 Mini
- iPhone 12
- iPhone 12 Mini
- iPhone 12 Pro
- iPhone 12 Pro Max
- iPhone 11
- iPhone 11 Pro
- iPhone 11 Pro Max
- iPhone XS
- iPhone XS Max
- iPhone XR
- iPhone SE (2020)
- iPad Air (3rd generation)
- iPad Air (4th generation)
- iPad Pro 11‑inch (1st generation)
- iPad Pro 11‑inch (2nd generation)
- iPad Pro 11-inch (3rd generation)
- iPad Pro 12.9‑inch (3rd generation)
- iPad Pro 12.9‑inch (4th generation)
- iPad Pro 12.9-inch (5th generation)
- iPad (7th generation)
- iPad (8th generation)
- iPad Mini (5th generation)

The Future of eSIMs and the Digital Space
The point of this article is to highlight that whether it’s Apple or Android, our conventional forms of technology are evolving.
Think back to how phones have developed over the past few years: Generally, they’re becoming sleeker, more user-friendly, and ergonomic in form.
As a result, major adaptions like the removal of the headphone jack have become standard on most flagship phones. Sure, it’s a tradeoff — you can’t use wired headphones with most modern phones. But, what companies like Apple understood is that we would prefer using a subset of wireless headphones instead of having to deal with cables.
Innovations like wireless charging also invite the possibility that we might not even need a charging port in a few generations. Whether or not that will be adopted at mass remains to be seen.
But what is clear is that eSIMs are a far more efficient way to manage your data plans. And as more devices become eSIM capable, switching your SIM tray will soon be a thing of the past.

