No products in the cart.
Uncategorized
How to Switch Between SIM Cards on an iPhone
Headed abroad for another adventure? Make sure you know how to switch between SIM cards on your iPhone.
Switching to a local physical SIM card is a popular method for avoiding costly roaming fees or international charges. In most cases, you can pick one up at the airport or search for one around town.
Before you do that, however, take a moment to refresh yourself on the finer points of iPhone SIM cards. Here’s the scoop on them, plus everything you need to know about switching between SIM cards while you travel.
What To Know Before You Switch SIM Cards on an iPhone
Many people wonder if you can really just switch SIM cards on an iPhone. Yes, you absolutely can. However, there are a few things to know before you do it:
- If you intend to use a third-party SIM card, your phone must be unlocked: This won’t be a problem if you purchased your phone directly from Apple as they generally sell them unlocked. However, if you purchased it from a carrier – especially in the U.S. – it’s likely locked. Usually, just calling your carrier and explaining that you’ll be traveling abroad is enough to get them to unlock it. However, that doesn’t always work because carriers prefer that you use their international data plans. In that case, use a third-party alternative to unlock your phone.
- Your contacts, apps, and data aren’t stored on your SIM card: Unlike other smartphones, iPhones don’t store details like contacts on the SIM card. Instead, all your information is backed up to cloud storage. That means removing your SIM card while you travel won’t affect your ability to access your information. The only data that’s actually on your iPhone SIM card is your customer data. Apple uses that to help track your phone.
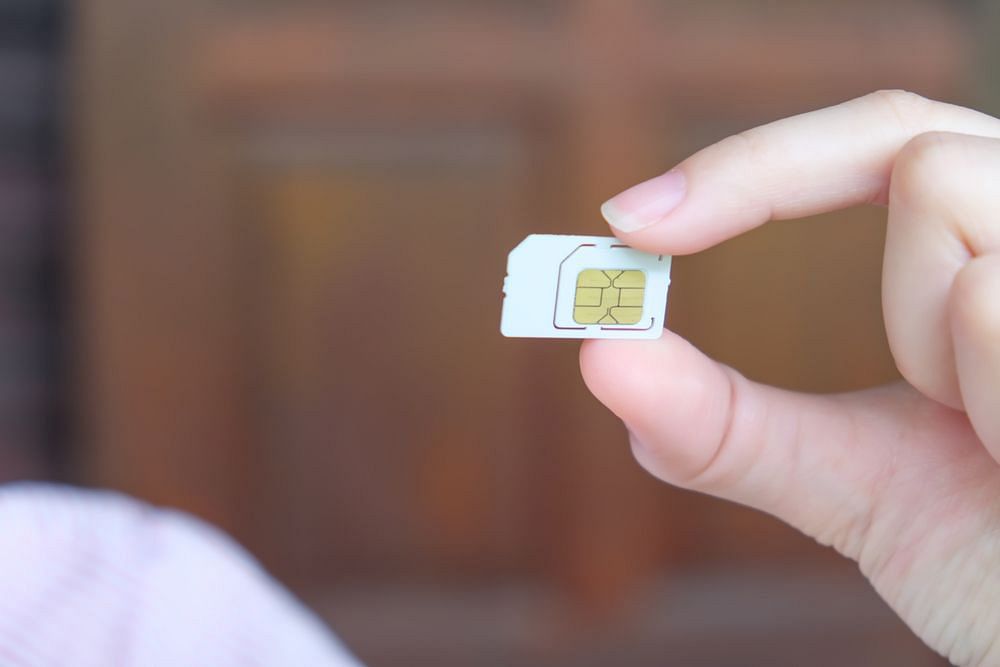
- All current iPhones use a nano-SIM card: It’s worth noting that all iPhones manufactured since 2012 use a nano-SIM card. These are the smallest SIM cards currently available on the market. Keep this in mind because smartphones using micro-SIM cards still exist, and you may buy the wrong one abroad if you’re not careful.

How To Remove a SIM Card From an iPhone
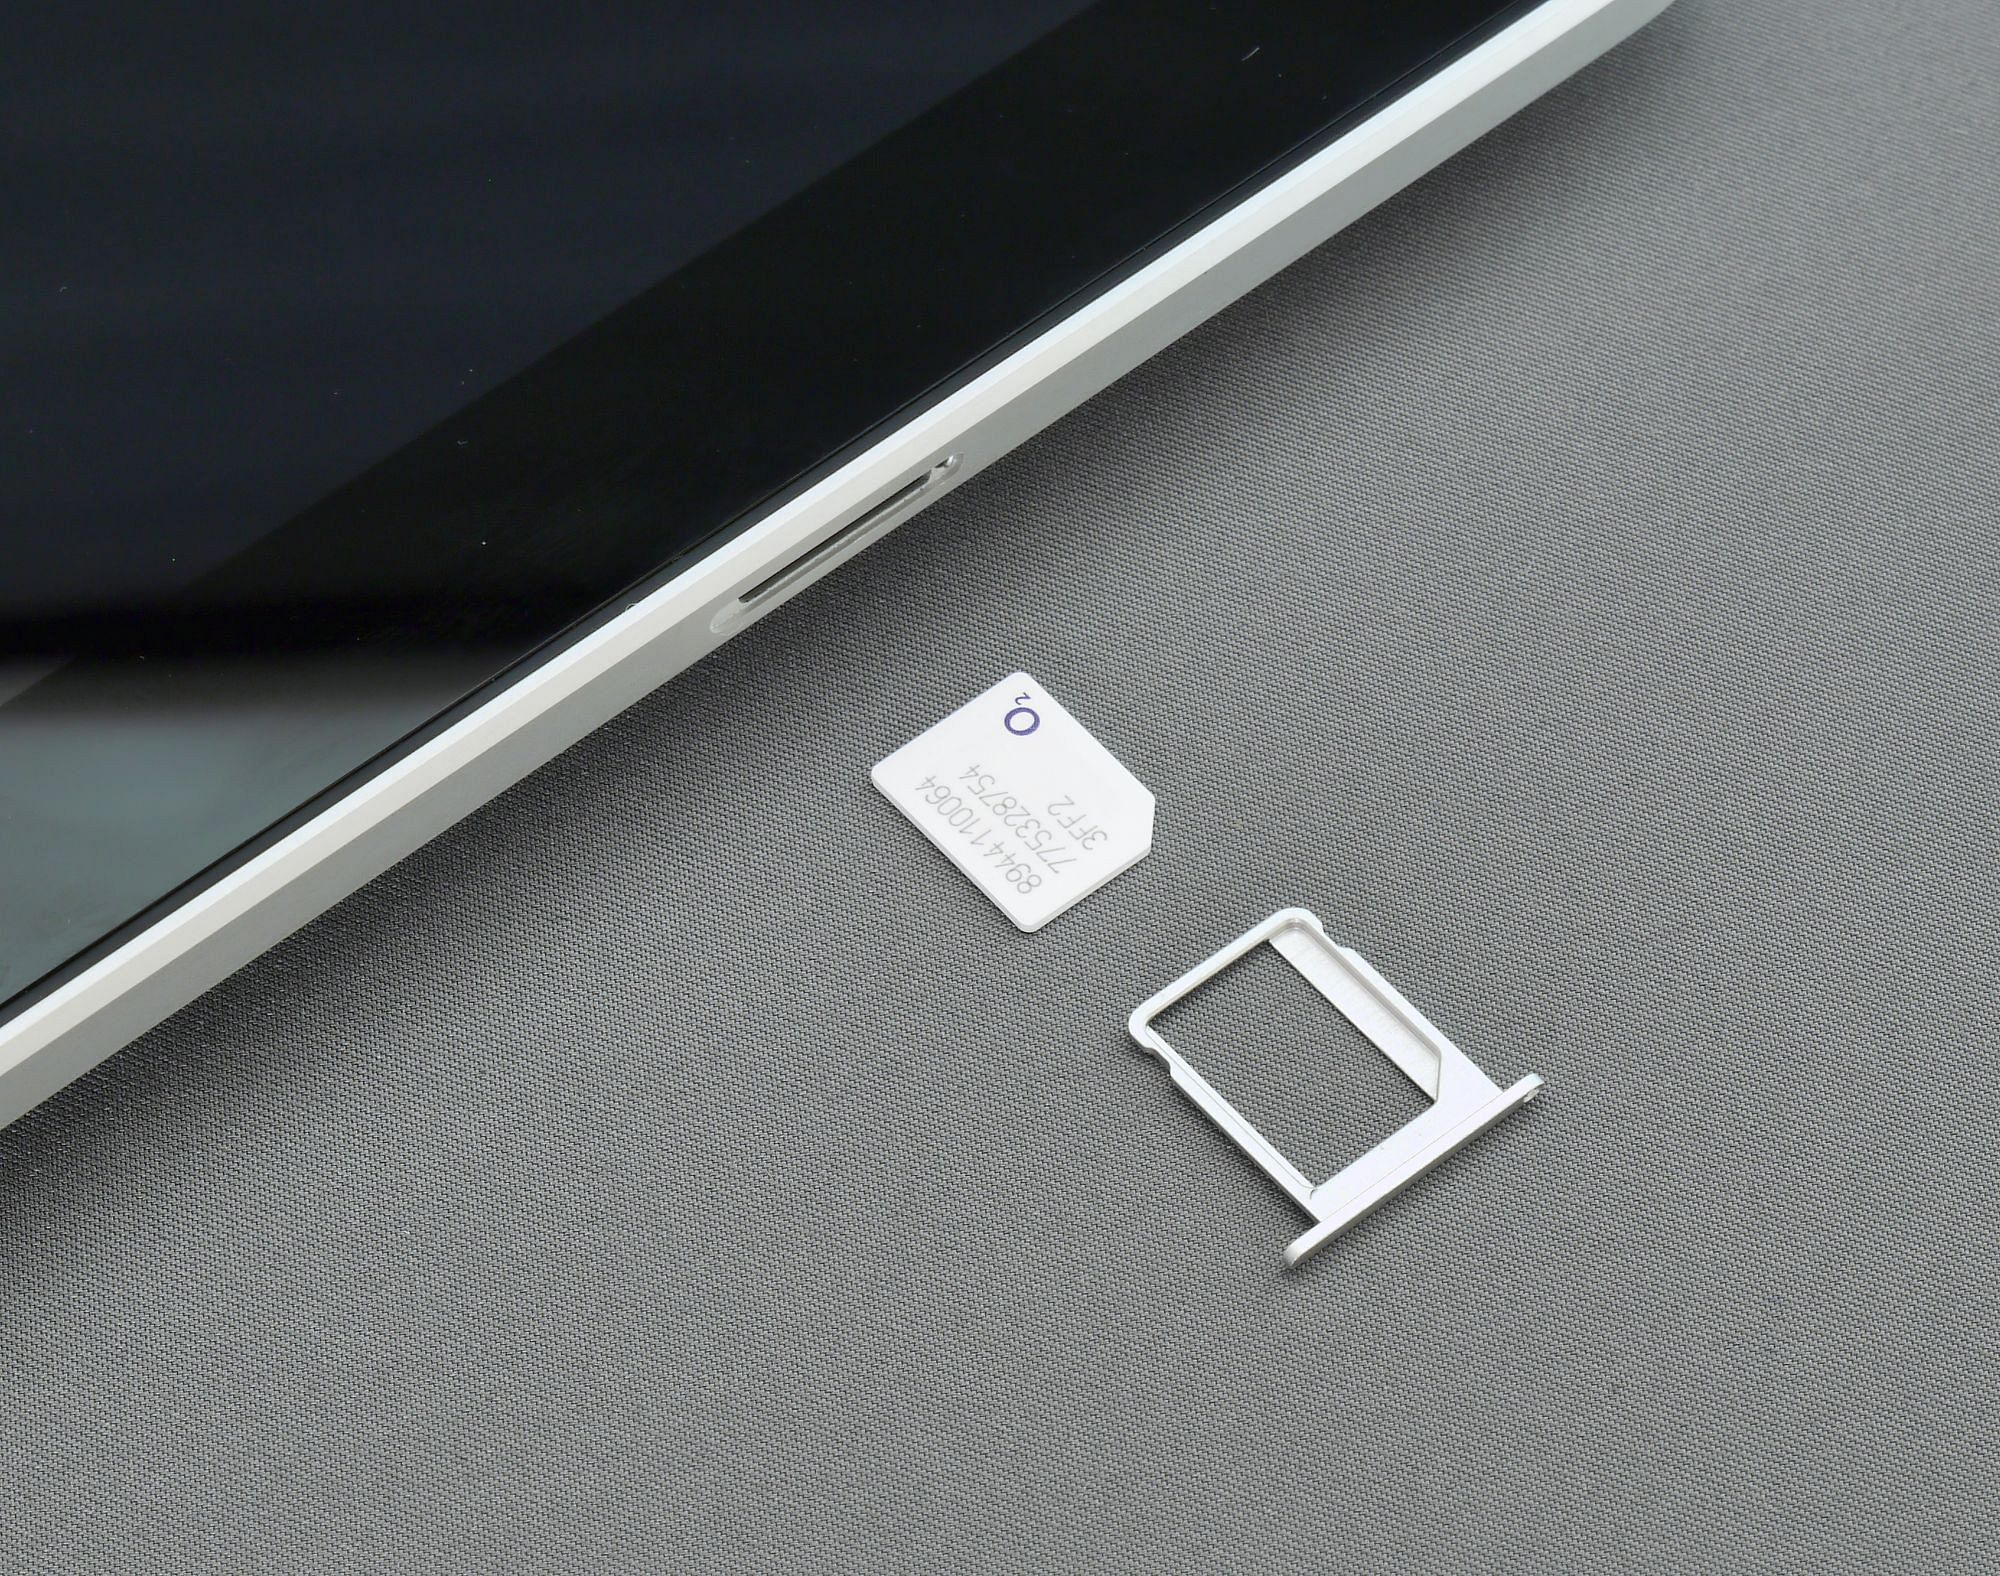
All iPhones come with SIM card slots located on their sides. For iPhones, the SIM tray is located on the left or right side. If you’re looking along the edge, you should see a small oblong shape with a pinhole next to it. That’s your SIM card slot. With your phone turned off, follow these steps to remove your SIM card.

Photo credit: Brett Jordan
Insert the SIM-Eject Tool
Insert the SIM-eject tool straight into the pinhole. A paperclip will work in a pinch if you don’t have one. If you’re having trouble finding a paperclip that’s narrow enough, a straight-back earring will also work. Press it in firmly, and you should feel a click. Remember that you shouldn’t have to force it.
After the click, the tray pops out.
Remove the SIM Card
The SIM card should come loose from the tray easily. Don’t try to force it if it’s stuck, as that may mean your tray is bent. Likewise, don’t use tweezers or anything hard to knock out, as that may scratch the card. Store your card someplace safe (or put another SIM card into your phone), and you’re set.
How To Add a SIM Card to an iPhone
Adding a SIM card to an iPhone is just as easy as removing one. Just follow these steps:
- Open the tray: Turn off your phone, then follow the steps above to open the tray again. Pull it all the way out before trying to seat your SIM card.
- Locate the clipped corner: To help you tell which way the SIM card should go into the phone, you’ll notice that one of the edges looks “clipped.” Match the edge of your SIM card with the slot on the tray.
- Insert the SIM card: Set the SIM card into the tray as straight as possible. Don’t try to insert it at an angle, or it may not seat properly. Likewise, avoid touching the gold part of the SIM card while doing this to prevent oils or dirt from your fingers from smudging it. Slide the tray back into the phone. It should close with a click.
How to Switch Between eSIMs on an iPhone
Don’t want to deal with switching those tiny SIM cards on your iPhone? Using an eSIM or three is even easier.
Dual SIM and eSIM are two technologies popular amongst frequent travelers. Using them allows you to keep your phone number during travel yet avoid costly data packages from domestic carriers. It’s a convenient, affordable solution to staying connected while traveling.
Related: International SIM Cards for iPhones: The Complete Guide
We’ve thoroughly covered how to use eSIMs with every compatible iPhone version right here, but there are a few things you need to do to toggle between eSIMs effortlessly while you’re abroad.
1. Purchase Your eSIM Data Plan(s)
Browse the eSIM store for your chosen destinations and purchase the plans that you would like to use. You can buy several of them and load them all at once onto your iPhone to activate later.
2. Add a Cellular Plan to Your iPhone
Once you’ve purchased a plan, you’ll receive installation instructions. Follow these instructions to activate it:
- There are three methods to install an eSIM in your iPhone: Direct Installation, Manual installation & QR Code Installation.
- Tap “Cellular Plan Detected” when it appears, then “Continue,” and after that, “Add Cellular Plan.”
- Enter the confirmation code provided if prompted.
- If you purchased multiple plans, repeat until you’ve added them all.
3. Easily Switch Between eSIMs
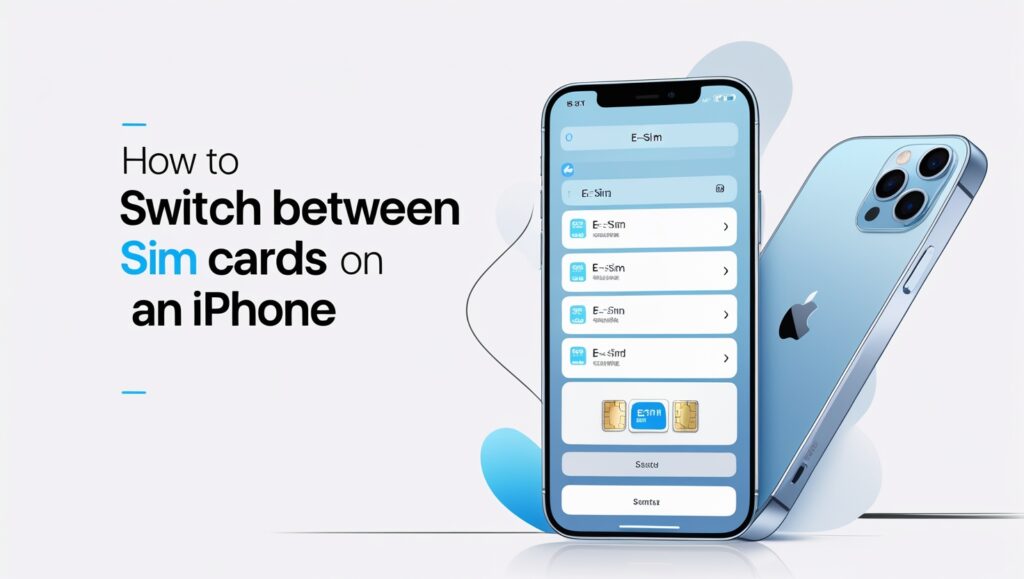
To switch between the eSIM data plans that you’ve purchased, follow these steps:
- Navigate to “Settings.”
- Tap “Cellular/Mobile Data.”
- Select the plan you’d like to use and tap “Turn On This Line.”
Tired of Switching SIM Cards? Discover a Simpler Alternative With eSIMs From Airalo
While it’s absolutely possible to switch between SIM cards with an iPhone, why bother? An eSIM solves many of the long-standing challenges frequent travelers face when accessing mobile data abroad. If you’ve got an iPhone XR or newer and are running iOS 12.1 or later, your device is eSIM compatible.
Stay focused on the adventure, not fiddling with tiny hardware. Shop Airalo’s eSIM plans now.

